Database online ready in no time.
A few simple steps to organize and share your data.
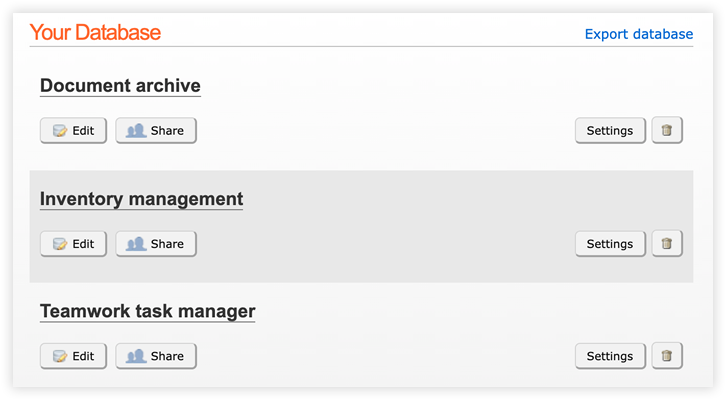
1. Create database
Build a new database from scratch or use one of our database template.
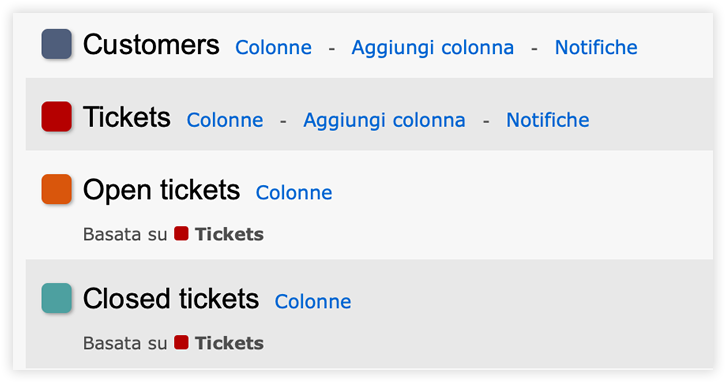
2. Create tables
Add one or more tables to the database. Use Excel to create one automatically. Create filtered views on data and set up email notifications to stay updated on changes made.
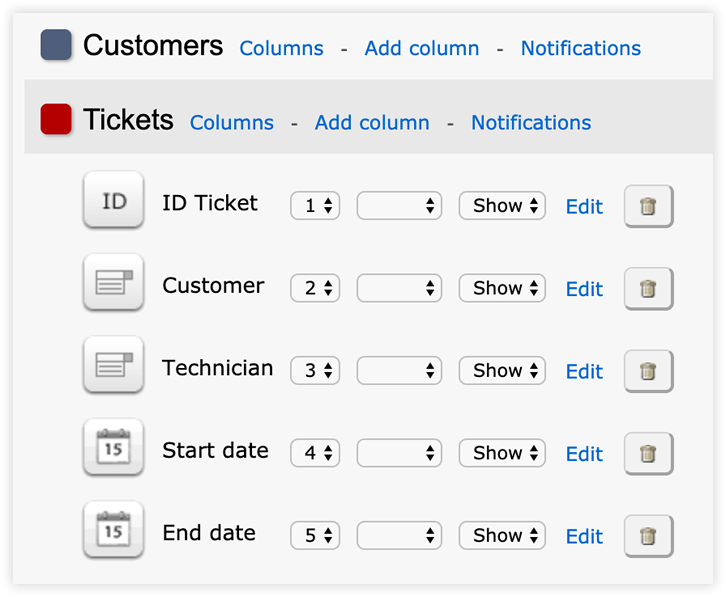
3. Add columns
Add text columns, numbers, email, file and other type of columns. Sort the data by one or more columns and create relationships between tables using a list column.
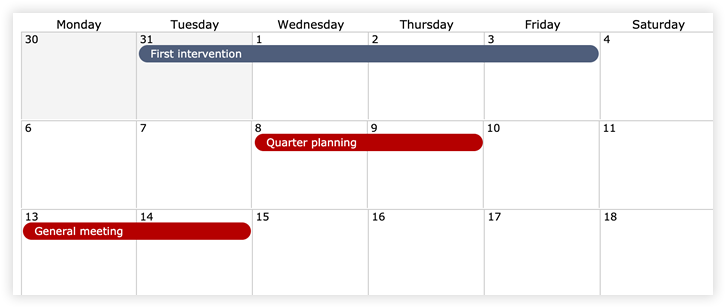
5. See the data on the calendar
Use the calendar to see the data of events table, activities and all of those table have a date-time column.
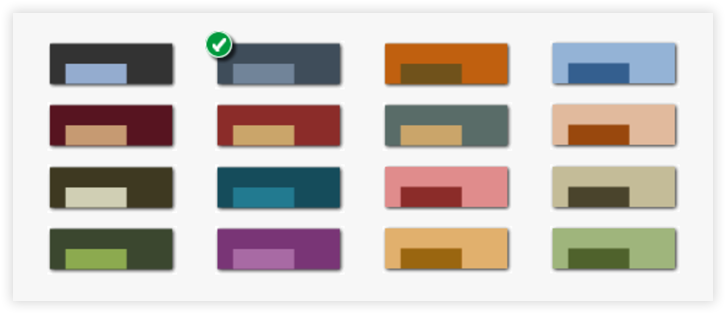
6. Choose a color
Customize the database with a color.
6. Share with custom permissions
Share your database with other people and grant them custom access permissions. Enable viewing, editing and deleting only on some tables and columns.

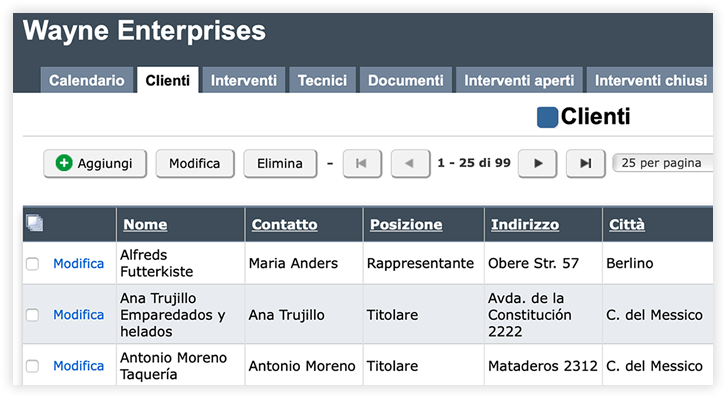
6. Insert data
Now access to your new web application and insert data.